
Though I’m in no doubt that Hawk spend a considerable amount of time to design a good (and easy to produce!) base, the bases that come with the base game has some glaring problems. I’m not the only one with this opinion judging from the multiple different bases out there. However, most of the other alternative bases I’ve seen do not meet all my design criteria which lead me to create my own, 3D-printable custom base. With this blog post I release it and hope that others can make good use of it.
Why another base?
So, what was wrong the one hawk provided? Well, it comes down to three main points:
- Too “fiddly”
Working with the bases is a little to difficult. The dial is basically adjusting two different scales at the same time and I end up turning it back and forth way too much before I find the setting I want. And even then, I can very easily push it and change it unintentionally. - Layer and energy status hard to see
If you view a base from an angle it is hard to see properly – so across the table you cannot easily get an overview of what the status of the individuel ships actually is. - Damage indicator insufficient
I never used it. I immediately went to using dice instead. The small pegs are the epitome of fiddly – and not even touching upon the fact that the scale is insufficient for the larger ships.
In addition, I had a number of things I would like to improve upon now that I was creating a new base:
- Smaller footprint
Traffic jams are all too frequent occuring. A base with a smaller footprint would partly accomodate that. So I wanted to make the base smaller. - Marking center
Hawk bases do not have a clear marking of the center of the base so doing a 45º turn is a bit difficult. - Space station friendly
The hawk standard base is not good for space stations – layer and energy indicator is not really necessary for a spacestation so it would be nicer to be totally without instead.
Presenting – the linkedbroadsides base alternative
Below, you see a picture of the base I have made compared to the standard hawk bases.
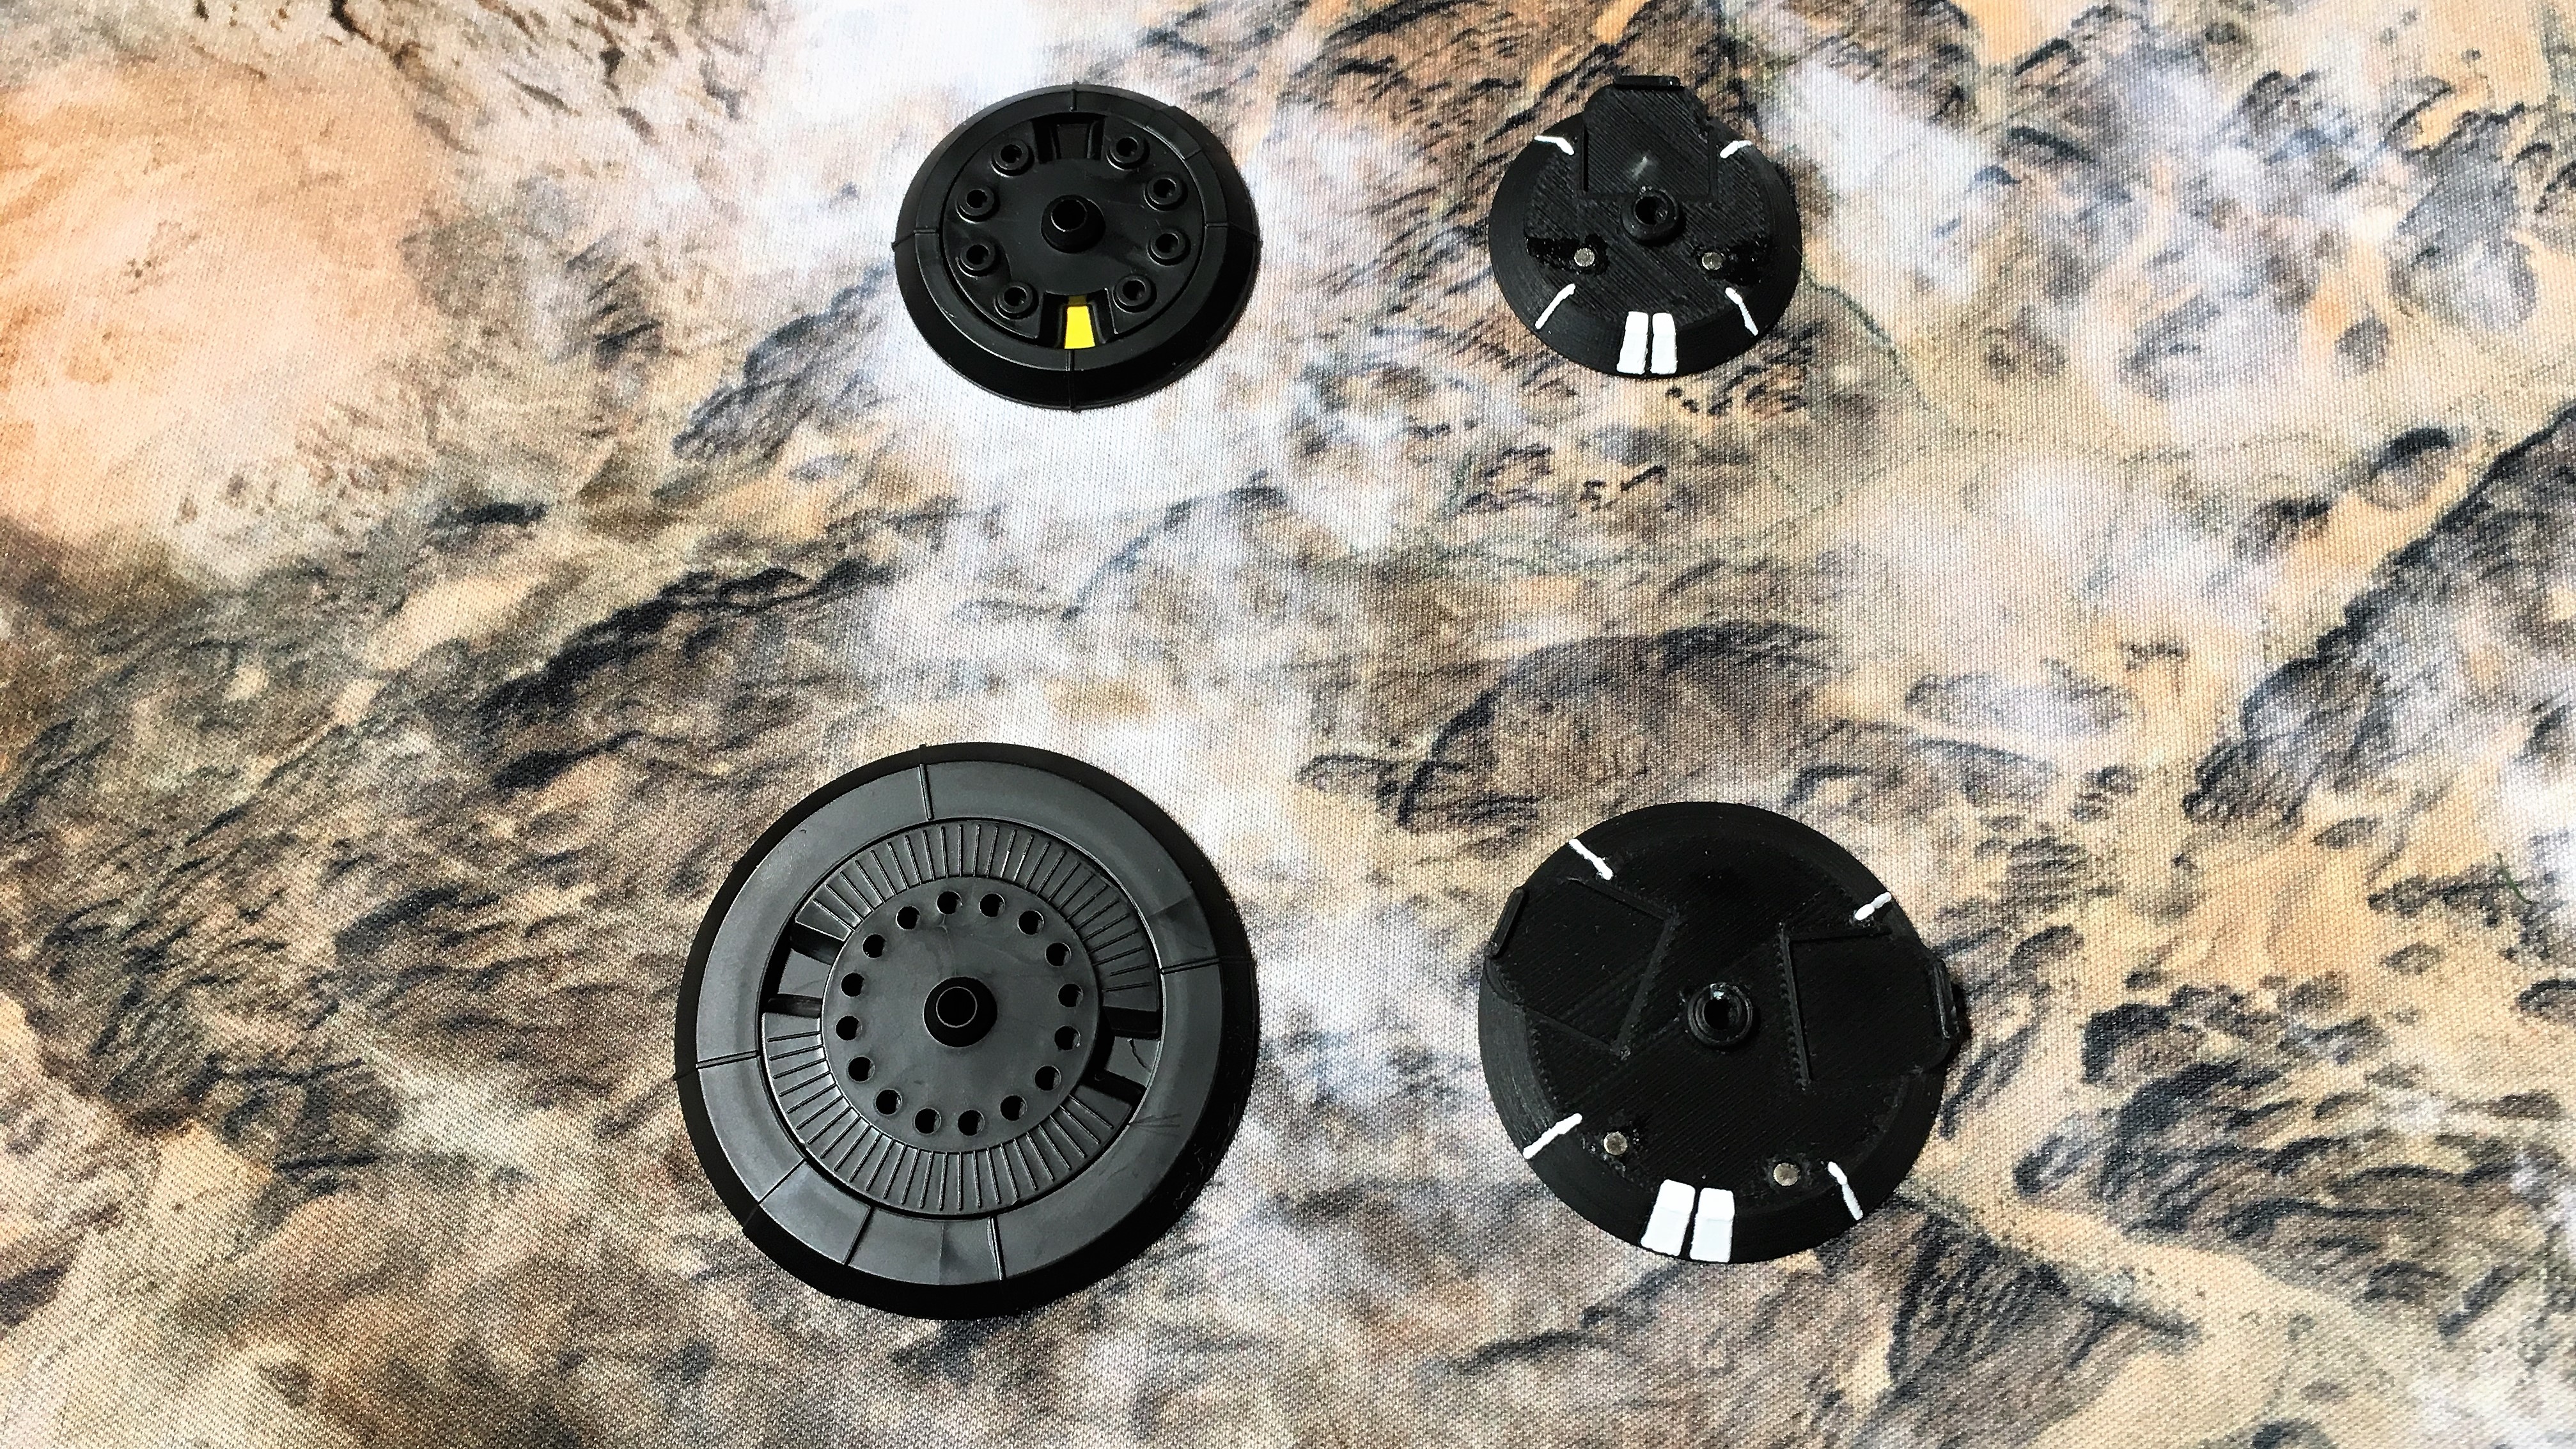
It has the following features:
- Smaller
The small base is 5 mm smaller in diameter, the large is 10 mm smaller. Both are actually also slightly shorter in height, but not by much. - Heavier
The issue about making them smaller is to ensure, that the ship do not topple over. To accomodate that, it is made heavier. This is done by making room for and gluing a washer under the bottom (as can be seen on the main picture of the post). - Clear marking of the center
In the middle of the Front (narrow) part, it small ridge is made to mark the center – making tracing a straight line and doing accurate 45º turns easier. - Dices for damage tracking
Small slots for 12 mm dice is incorporated into bases. 1 on the small base, 2 or 3 on the big. Yes, the PHR battleship cannot make do with 3 dice, but all other ships can. - Layers and energy spikes are handled by colored tokens
Small tokens a put on the base with magnets indicating layer and energy spike. (see picture below). They are clearly visible having both unique color and shape. They are not accidentally changed and they do not take up more space than the base (as I have seen some other solutions do). You can even – when you get a bit of practice – “throw” them on since the magnet does the last bit of the alignment job. The only disadvantage is that they are slightly difficult to remove without pushing the ship, so you need to hold onto the base when changing them. A plier (non-metallic!) can help here.

There are also two specifically for space stations. These do not have room for indicators for height and energy spikes but room for dice instead.
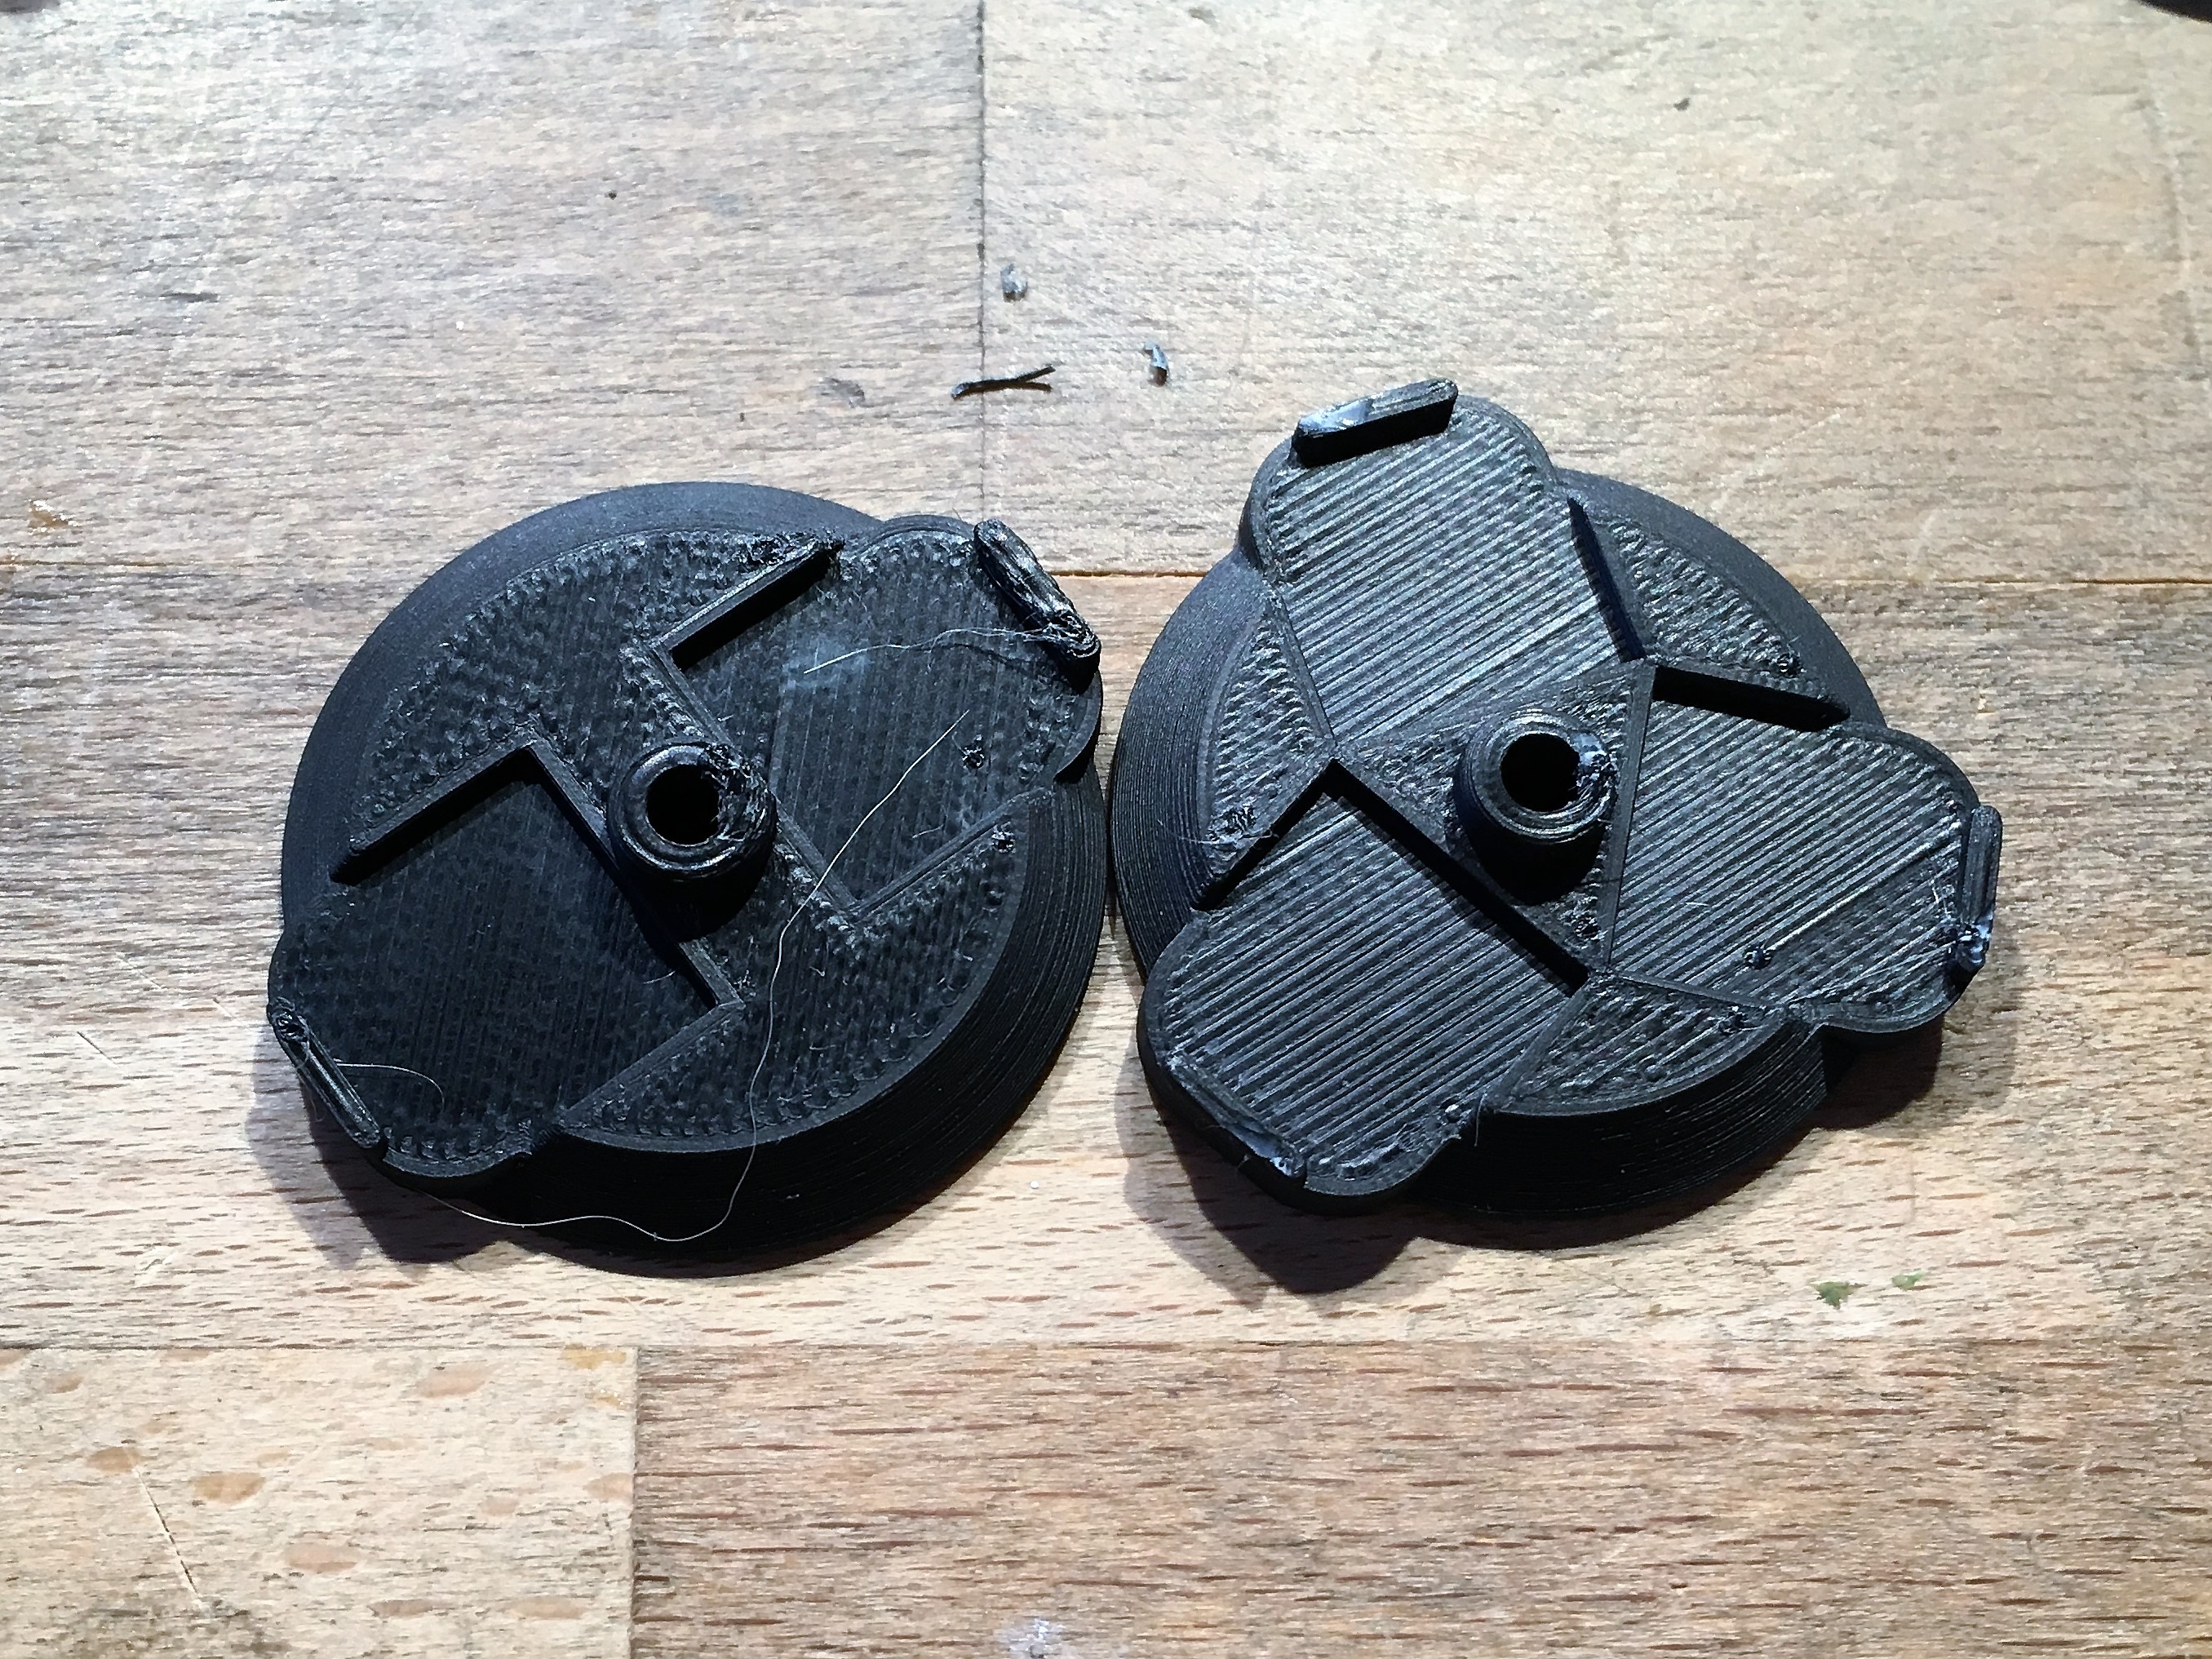
A couple of pictures from printing and preparation:


Where do I get them?
They are on Thingiverse – get them here. If this is your thing (pun intended) then go download them and print away.
What do I need besides a printer
For a base you need two magnets that is 2 mm i diameter and 1 mm i height. They can be bought in a lot of hobby stores or online on supermagnete.de or similar. For a set of indicators, you need six magnets of the same size. They might be a bit of a tight fit but with some force you should get them in there easily – remember to add a drop of glue first to make sure they stay there.
Then you need washers. I have tried to make them somewhat flexible to accomodate different washer sizes but the ones I use are:
- Small base: 20 mm outer diameter, 6,5 mm inner diameter and 1 mm in height.
- Large base: 30 mm outer, 8,4 mm inner diameter and 1,5 mm in height.
Obviously, anyone with a larger inner diameter and same outer will work, but there is also a little room for larger outer diameter and smaller inner diameter. Print a base and bring it to your local hardware store and test to see what works out.
Finally, you will need som 12 mm dice to track damage. Odds are good you already have some but if not, you probably have a good idea where you can get some.
If you use these bases and have any comments our questions I would like to hear them – feel free to contact me.


